

Painting a Wall
Painting is an incredibly simple do-it-yourself project that can greatly transform your home. It is essential for every homeowner to have the knowledge of painting techniques. However, it involves more than simply dipping a paint brush into a can and applying it to the wall. It is important to understand the proper usage of painter's tape to safeguard baseboards and fixtures, master the correct technique of using a roller or paint brush to achieve a flawless finish, and select a color that complements your space effectively.
Steps to Painting a Wall:
1. Prepare the room: Clear the room of furniture and cover the floor and any remaining items with drop cloths or plastic sheets to protect them from paint splatters.
2. Clean the wall: Remove any dirt, dust, or grease from the wall surface using a mild detergent and water. Scrub the wall gently with a sponge or soft cloth and allow it to dry completely.
3. Repair any damages: Inspect the wall for any holes, cracks, or imperfections. Use spackling paste or putty to fill in these areas and smooth them with a putty knife. Allow the repairs to dry and sand them lightly for a smooth finish.
4. Prime the wall (optional): If the wall has never been painted before or if it has stains or discolorations, it is recommended to apply a coat of primer. Primer helps the paint adhere better and provides a uniform base for the paint color.
5. Tape and protect: Use painter's tape to mask off any areas you don't want to paint, such as trim, windows, or outlets. Place drop cloths or plastic sheets along the baseboards to protect them from paint drips. I personally love Frog tape if you haven't tried it
6. Stir the paint: Open the paint can and stir the paint thoroughly using a paint stirrer or a wooden stick. This ensures that the color pigments are well mixed.
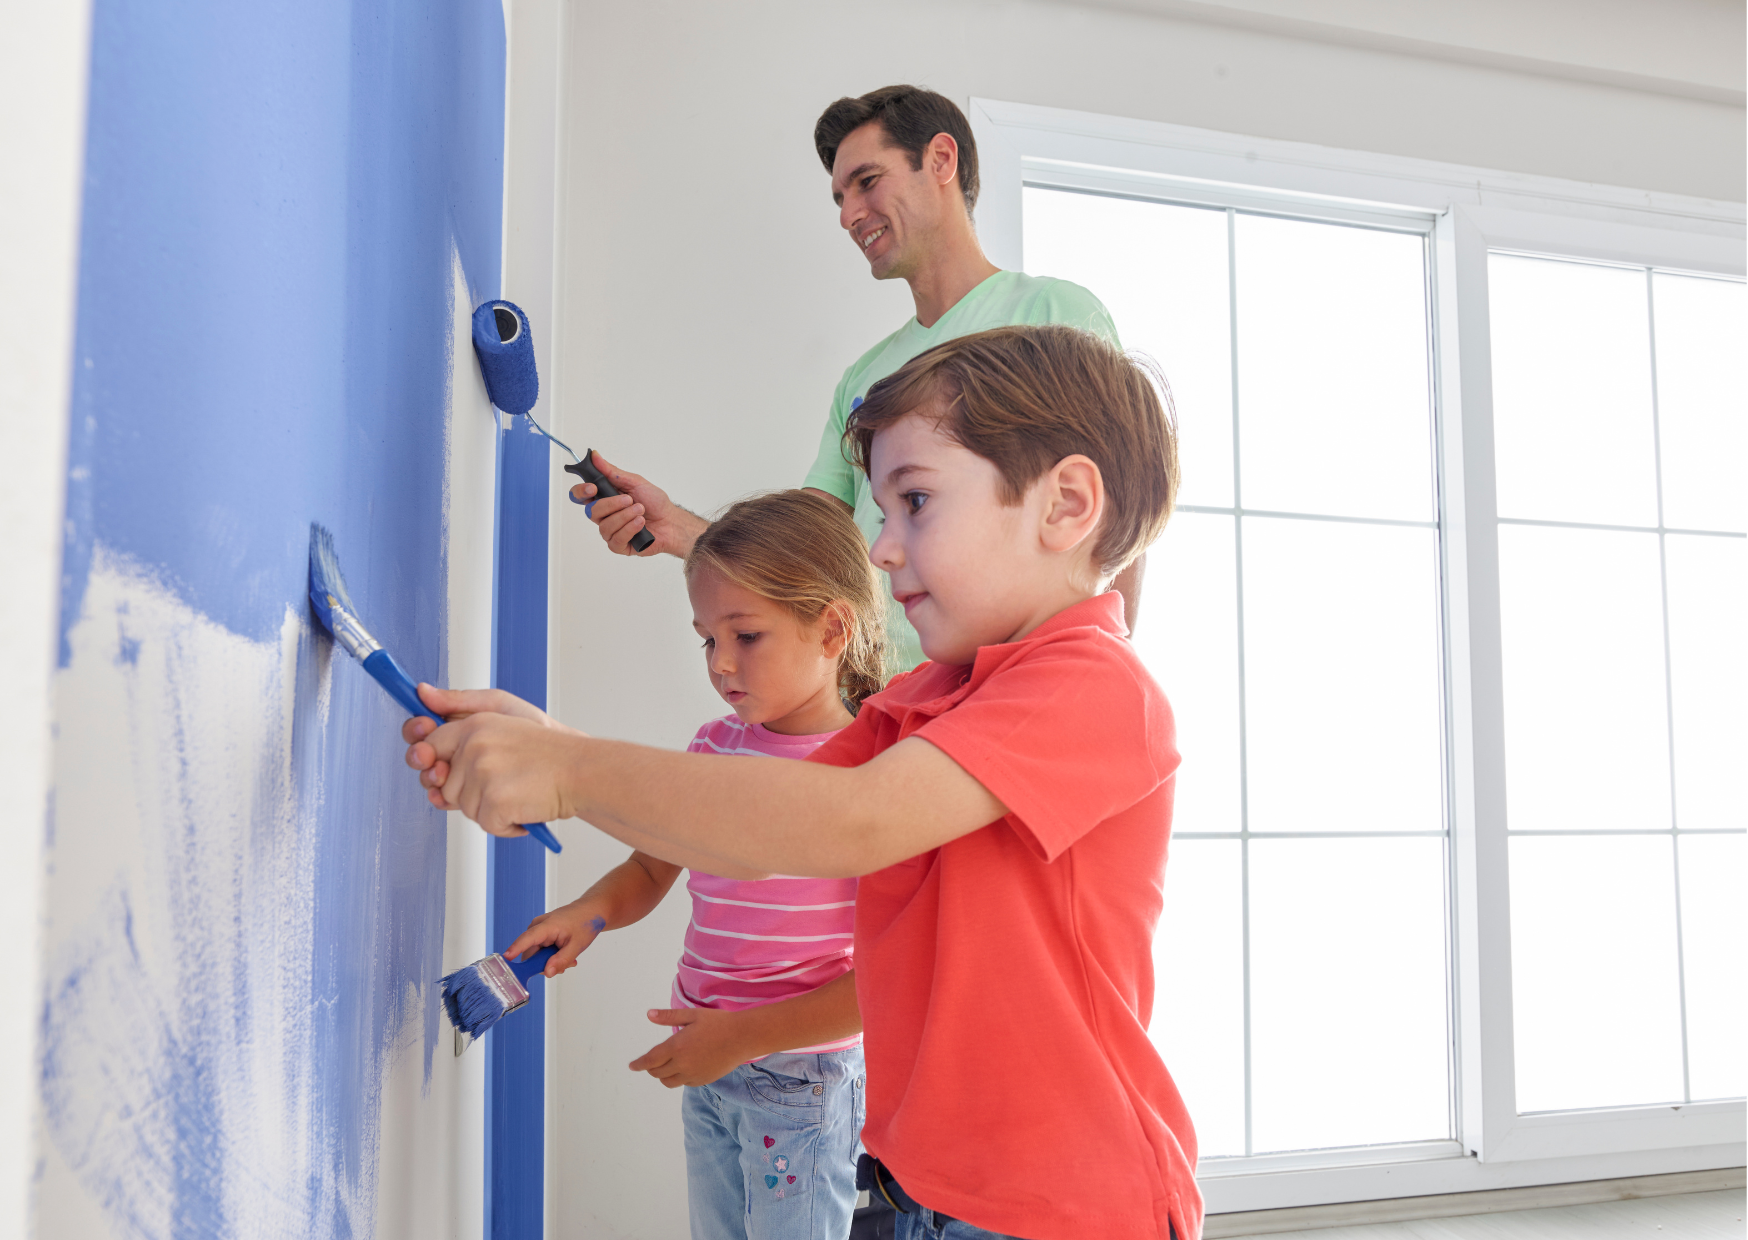
7. Start painting: Begin by cutting in the edges of the wall using a brush. Cut in around corners, along the ceiling, and around trim. Then, use a roller to paint the larger areas of the wall. Start from the top and work your way down in smooth, overlapping strokes. Apply a thin and even coat of paint.
8. Allow the first coat to dry: Follow the drying time mentioned on the paint can. It usually takes a few hours for the first coat to dry. Avoid touching or smudging the paint during this time.
9. Apply a second coat (optional): Depending on the color and coverage, you may need to apply a second coat of paint. Repeat the process of cutting in and rolling the paint, ensuring even coverage.
10. Remove the tape: Once the paint is dry to the touch, carefully remove the painter's tape at a 45-degree angle. This prevents the paint from peeling off with the tape.
11. Clean up: Clean your brushes, rollers, and any other painting tools with soap and water or according to the paint manufacturer's instructions. Remove the drop cloths or plastic sheets and return the furniture to the room.
1. Prepare the room: Clear the room of furniture and cover the floor and any remaining items with drop cloths or plastic sheets to protect them from paint splatters.
2. Clean the wall: Remove any dirt, dust, or grease from the wall surface using a mild detergent and water. Scrub the wall gently with a sponge or soft cloth and allow it to dry completely.
3. Repair any damages: Inspect the wall for any holes, cracks, or imperfections. Use spackling paste or putty to fill in these areas and smooth them with a putty knife. Allow the repairs to dry and sand them lightly for a smooth finish.
4. Prime the wall (optional): If the wall has never been painted before or if it has stains or discolorations, it is recommended to apply a coat of primer. Primer helps the paint adhere better and provides a uniform base for the paint color.
5. Tape and protect: Use painter's tape to mask off any areas you don't want to paint, such as trim, windows, or outlets. Place drop cloths or plastic sheets along the baseboards to protect them from paint drips. I personally love Frog tape if you haven't tried it
6. Stir the paint: Open the paint can and stir the paint thoroughly using a paint stirrer or a wooden stick. This ensures that the color pigments are well mixed.
7. Start painting: Begin by cutting in the edges of the wall using a brush. Cut in around corners, along the ceiling, and around trim. Then, use a roller to paint the larger areas of the wall. Start from the top and work your way down in smooth, overlapping strokes. Apply a thin and even coat of paint.
8. Allow the first coat to dry: Follow the drying time mentioned on the paint can. It usually takes a few hours for the first coat to dry. Avoid touching or smudging the paint during this time.
9. Apply a second coat (optional): Depending on the color and coverage, you may need to apply a second coat of paint. Repeat the process of cutting in and rolling the paint, ensuring even coverage.
10. Remove the tape: Once the paint is dry to the touch, carefully remove the painter's tape at a 45-degree angle. This prevents the paint from peeling off with the tape.
11. Clean up: Clean your brushes, rollers, and any other painting tools with soap and water or according to the paint manufacturer's instructions. Remove the drop cloths or plastic sheets and return the furniture to the room.
Categories
Recent Posts
May 2025 City Market Statistics

York County May 2025 Market Statistics

Union County May 2025 Market Statistics

Mecklenburg County May 2025 Market Statistics

Lancaster County May 2025 Market Statistics

Gaston County May 2025 Market Statistics

Cabarrus County May 2025 Market Statistcs

Charlotte Region May 2025 Market Statistics
Navigating Charlotte's Evolving Housing Market: Insights for Buyers and Sellers

Understanding Charlotte's Market Today: How Long Should My Home Take to Sell?